Are you a beginner looking for easy nail art ideas to try at home? Look no further! In this blog post, we will explore some simple yet stylish nail art designs that are perfect for anyone new to nail art.
With step-by-step guides and helpful tips, you’ll be able to create gorgeous nail art looks in no time. Let’s get started on your nail art journey with these Easy Nail Art Ideas for Beginners!
Easy Nail Art Ideas for Beginners: Floral Designs
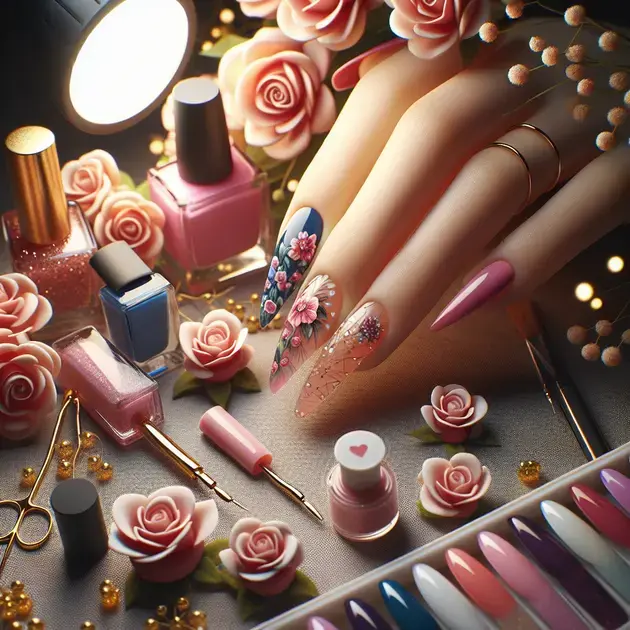
Floral designs are popular and easy nail art ideas for beginners. To start, you can choose a light base color for your nails, such as pastel pink or white. Once the base color is dry, you can use a nail art brush or a toothpick to create simple flower shapes. One helpful app for nail art inspiration is Nail Art Designs Gallery, available for download on both Android and iOS devices.
Start by painting small dots in the center of your nail to represent the flower’s core. Then, using a different color, add petal shapes around the center dot. Repeat this process for each nail, creating a floral design on each one. You can finish off the look with a clear top coat for added shine and protection.
For more intricate floral designs, you can explore tutorial videos on YouTube or Pinterest. These platforms offer step-by-step guides on creating various floral patterns, from roses to daisies. By practicing and experimenting with different colors and techniques, you can master the art of floral nail designs as a beginner.
Remember to have fun and be creative with your nail art. Don’t be afraid to try new color combinations and patterns. With practice, you’ll be able to create beautiful floral designs on your nails effortlessly.
Step-by-Step Guide: Geometric Nail Art for Beginners
Geometric nail art is a trendy and beginner-friendly option for nail art enthusiasts. To create geometric designs on your nails, you can start with a neutral base color like nude or gray. One helpful website for geometric nail art tutorials is Nailpro.com.
Begin by painting your nails with the base color and allowing it to dry completely. Then, using striping tape or nail art stencils, you can create geometric shapes such as triangles, squares, or stripes on your nails. Apply different colors of nail polish to fill in the shapes and create a contrast effect.
Once the nail polish is dry, carefully peel off the striping tape or stencil to reveal clean and precise geometric patterns. You can further customize your design by adding rhinestones or glitter accents for a touch of glamour. Finish with a top coat to seal the design and enhance its longevity.
Experiment with different geometric patterns and color combinations to create unique and eye-catching nail art. With practice and patience, you’ll be able to master the art of geometric nail designs as a beginner.
Tips for Nail Art Newbies: Minimalist Nail Designs
Minimalist nail designs are perfect for beginners who prefer a simple yet chic look. To achieve minimalist nail art, start by choosing a soft base color like light gray or baby pink. One excellent app for minimalist nail art inspiration is Nailbook – Nail Designs App, available for download on both Android and iOS platforms.
Next, consider using negative space techniques or minimalist nail stickers to create understated yet elegant designs. You can also opt for a single accent nail with a tiny geometric shape or a delicate line for a modern touch. Less is more when it comes to minimalist nail art.
For a clean and polished finish, ensure your nails are well-shaped and buffed before applying any polish. Minimalist designs often rely on simple lines and shapes, so precision is key. Practice creating straight lines and symmetrical shapes for a professional-looking result.
Don’t forget to seal your minimalist nail art with a top coat to prolong its wear and add a glossy finish. Embrace the beauty of simplicity with minimalist nail designs and let your nails make a stylish statement effortlessly.

Floral Patterns for Nail Art Novices
Floral patterns are a popular choice for nail art enthusiasts, especially beginners looking to create beautiful designs. To start with floral nail art, you will need a few essential tools and materials. Begin by selecting your favorite nail polish colors for the base and flowers, as well as a thin nail art brush for detailing. Additionally, you may want to have some dotting tools on hand for creating the centers of the flowers.
To create a simple floral pattern, start by applying a base coat of your chosen polish and allowing it to dry completely. Next, use a contrasting color to paint small dots in a circular shape to represent the flower petals. Then, use the thin brush to add delicate lines for the stems and leaves. You can finish off the design with a clear top coat to seal in your work and add shine.
For those looking to take their floral nail art to the next level, consider experimenting with different flower shapes and sizes. You can also play around with gradients or ombre effects for a more unique look. Remember to practice and have patience, as mastering floral patterns may take some time, but the results are well worth it!
In conclusion, floral patterns are a versatile and fun option for nail art novices to explore. With a bit of practice and creativity, you can create stunning floral designs that will showcase your artistic flair. So go ahead and give floral nail art a try – you may discover a new passion for creating beautiful manicures!
Creating Abstract Nail Art: A Beginner’s Tutorial
Abstract nail art allows for endless creativity and customization, making it a perfect choice for beginners who want to experiment with unique designs. To get started with abstract nail art, gather a variety of nail polish colors in different shades and finishes, as well as some nail art tools like striping brushes and dotting tools. You can also use tape or stickers to create clean geometric shapes.
Begin by choosing a base color and applying it to your nails. Once the base coat is dry, you can start experimenting with different abstract designs. Try creating geometric shapes, swirls, or random patterns using various colors and tools. Don’t be afraid to mix and match colors or textures to achieve a truly abstract look.
To create a simple abstract design, you can use striping brushes to paint thin lines or dotting tools to create random dots all over the nail. You can also use tape to create sharp lines or negative space effects. The key to abstract nail art is to let your imagination run wild and not worry too much about making it perfect – the beauty is in the uniqueness of each design.
In summary, abstract nail art is a great way for beginners to express their creativity and experiment with different techniques. With practice and an open mind, you can create one-of-a-kind abstract designs that will surely impress. So let your artistic spirit shine through and have fun exploring the world of abstract nail art!
Effortless Nail Art Techniques: Negative Space Design
Negative space nail art is a modern and chic trend that allows you to play with the natural color of your nails while adding artistic flair. This technique involves leaving parts of the nail bare to create striking designs using the contrast between the polish and the natural nail. To create negative space nail art, you will need a steady hand and some nail art brushes for precision.
Start by prepping your nails and applying a clear base coat to protect them. Then, choose a color or colors for your design and begin painting the desired shapes or patterns on your nails, leaving some areas unpainted to reveal the negative space. You can create geometric designs, stripes, or even animal prints using this technique.
One effortless way to incorporate negative space into your nail art is by painting only the tips of your nails, leaving the rest bare. This classic French tip design gets a modern twist with the addition of negative space, giving it a fresh and contemporary look. You can also try creating abstract shapes or asymmetrical patterns for a more edgy style.
In conclusion, negative space nail art is a simple yet sophisticated technique that can elevate your manicure to the next level. By playing with the natural elements of your nails, you can create unique and eye-catching designs that will surely stand out. So embrace the negative space trend and get creative with your nail art today!
Conclusion
Floral patterns offer a versatile and exciting avenue for novice nail artists to express their creativity. By exploring various flower shapes and sizes, experimenting with gradients, and practicing patience, beginners can master the art of floral nail designs and showcase their artistic flair. The process of creating floral patterns involves selecting the right tools and materials, starting with a base coat and adding intricate details with a thin brush. With dedication and practice, individuals can create stunning floral nail art that reflects their unique style and passion for manicures.
Abstract nail art, on the other hand, opens a world of endless possibilities for beginners to experiment with unconventional designs. Using a mix of colors, textures, and tools such as striping brushes and dotting tools, individuals can create geometric shapes, swirls, and random patterns on their nails. The key to successful abstract nail art lies in embracing creativity and letting imagination run wild, without the pressure of achieving perfection. Through practice and an open mind, beginners can craft one-of-a-kind designs that resonate with their artistic spirit.
Lastly, negative space nail art offers a modern and sophisticated technique for individuals to elevate their manicures. By strategically leaving parts of the nail bare, artists can create striking designs that play with the natural elements of their nails. Whether opting for geometric shapes, stripes, or asymmetric patterns, negative space designs add a fresh and contemporary touch to nail art. Embracing the negative space trend allows individuals to showcase their unique style and creative approach to nail design, making a bold statement with every manicure.